Feature branch workflow
Text Models supports a so-called "Feature Branch Workflow", which is a version control strategy where changes takes place in dedicated branches rather than the master branch. This allows team members to make separate changes simultaneously without disrupting the master documentation and ensures that the master branch always contains accepted (or approved) documentation. Feature branches should be given descriptive names and can be pushed to a central repository to be shared with others and backed up. The master branch is the only "special" branch and it is not affected by the creation or deletion of feature branches. This is a huge advantage as it encourages incremental and controlled changes because the changes can be merged with the master branch individually as they are ready.
The Feature Branch Workflow assumes a central repository, and the master branch represents the official project history. Committing directly on the local master branch is not supported by Text Models. When team members start work on an update of the documentation a new branch should be created. It is good practice to keep each branch short lived and self-contained in scope to make a merge with the master branch easier at a later stage. The idea is to give a clear, highly-focused purpose to each branch.
In addition, feature branches should be pushed to the central repository. This makes it possible to share an update with other team members without touching the “official” documentation in the master branch. Since master is the “official” branch internally in the team, storing several feature branches on the central repository doesn’t pose any problems. Of course, this is also a convenient way to back up everybody’s local work. The following is a walk-through of a Feature Branch Workflow.
Example
The following is an example of the type of scenario in which a feature branching workflow is used. The scenario is that of a team updating a Technical File with documentation for a new system feature. This is one example of the many purposes this workflow can be used for.
Create a new branch
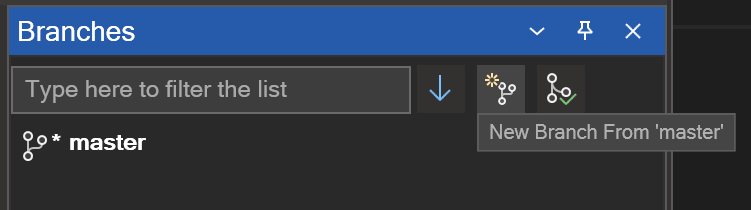
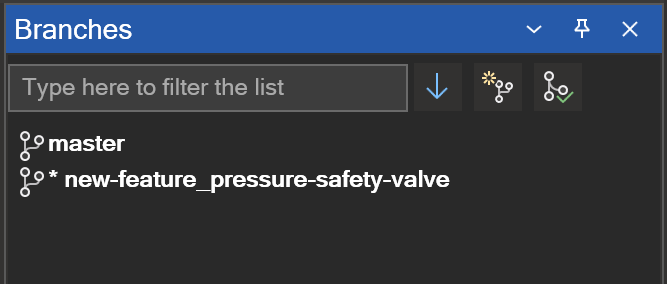
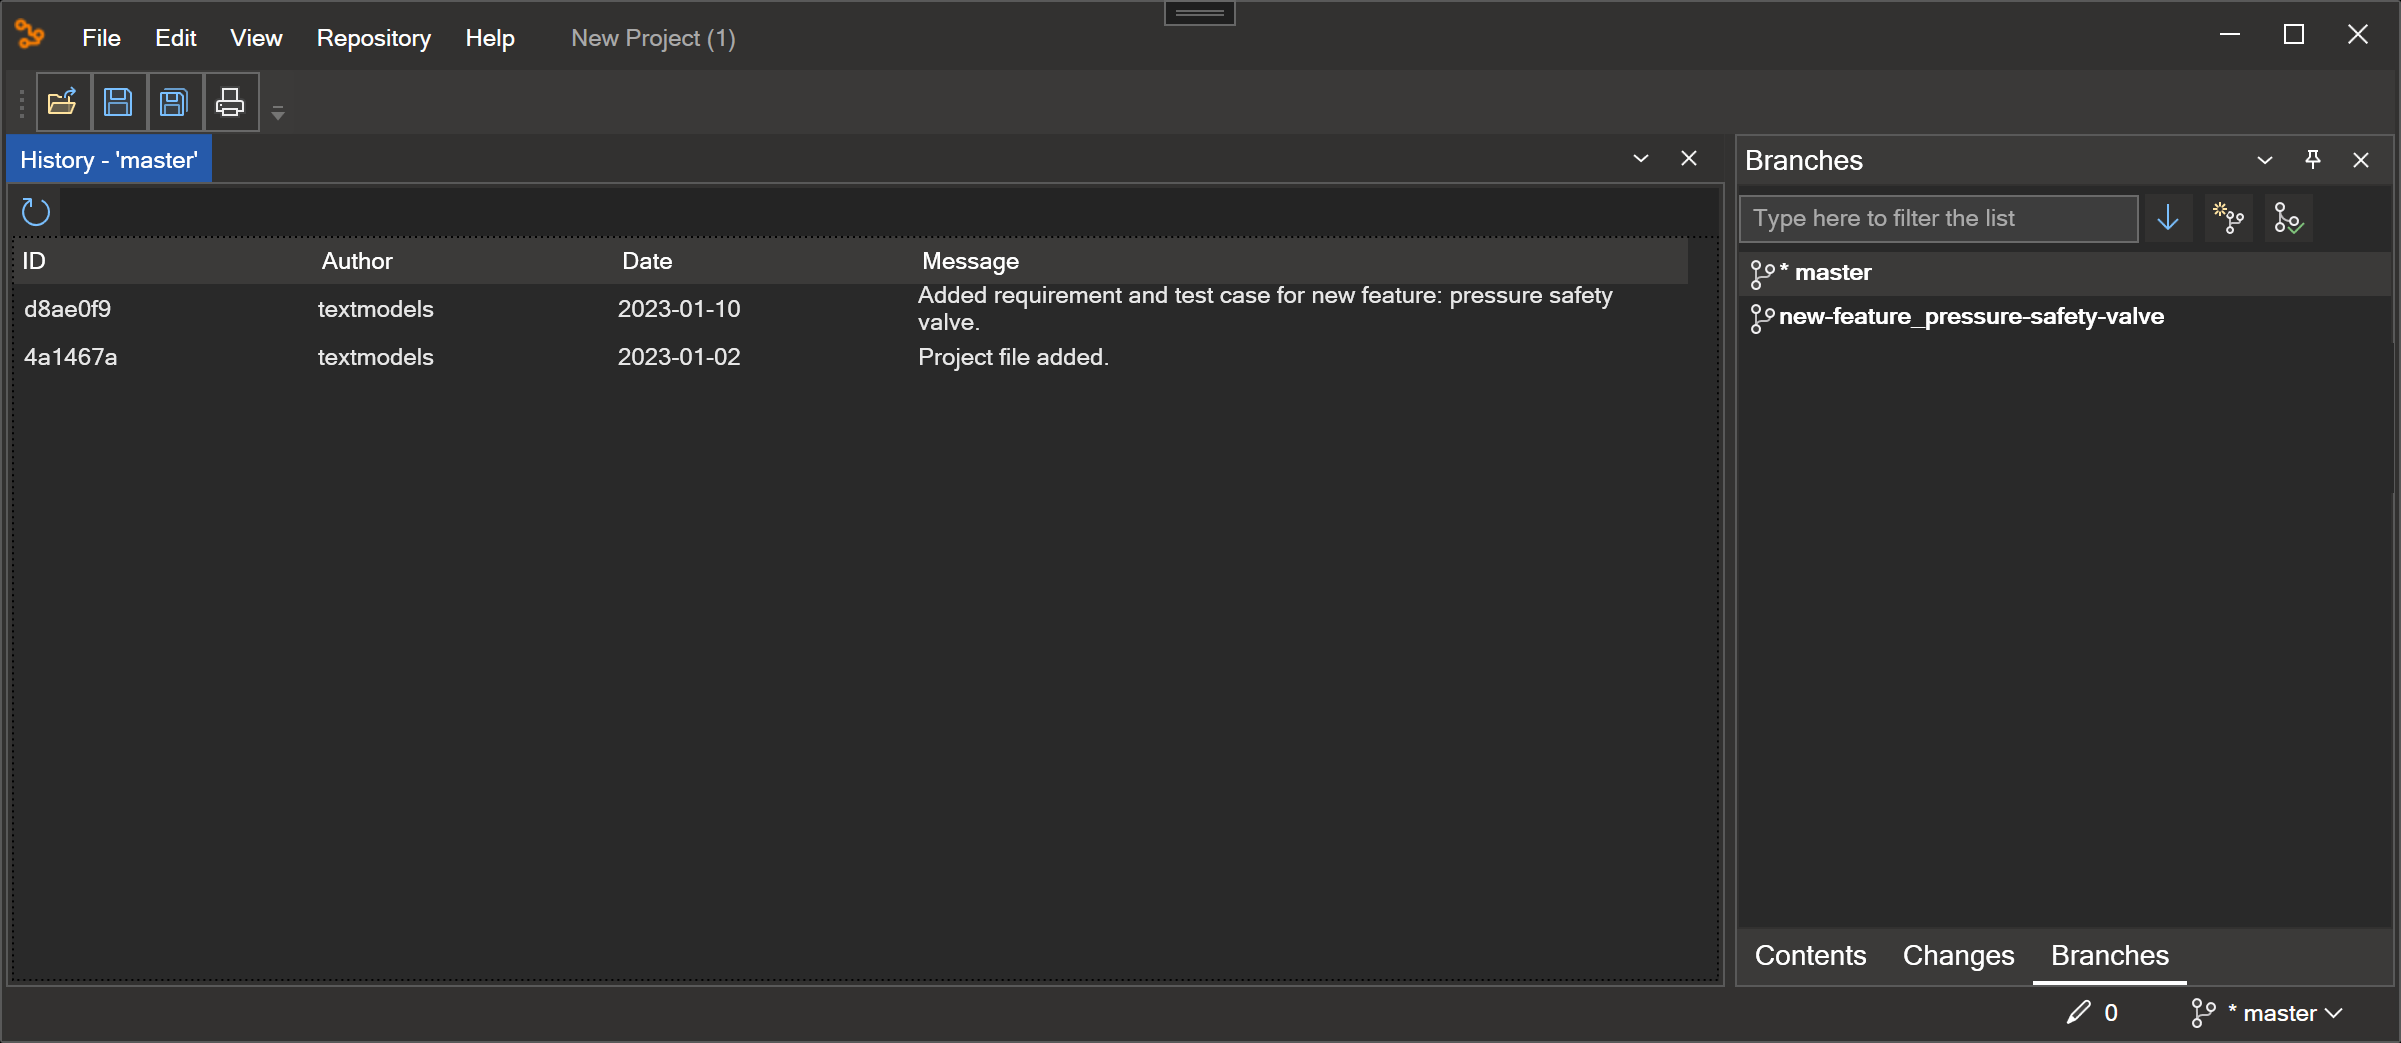
Before she starts updating the Technical File, Alice needs an isolated branch to work on. In the menu she selects View > Branches. She selects the button New Branch From 'master' in the Branches pane and creates a new branch new-feature_pressure-safety-valve from the New Branch dialog.
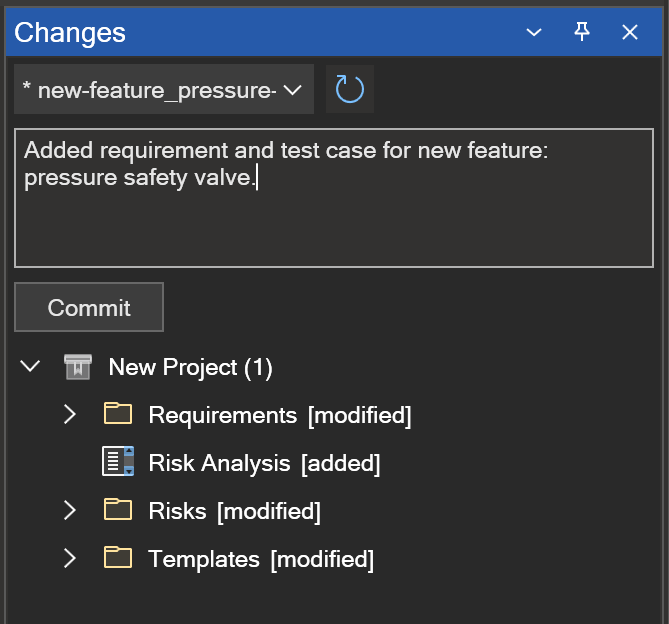
This checks out a branch based on master. On this branch, Alice edits, stages, and commits changes, building up her documentation changes with as many commits as necessary:
Update, commit and push changes
Alice adds a few commits to her branch during the day. Each commit is automatically pushed to the remote repository (if available). The remote repository serves as a convenient backup. If Alice collaborates with other team members, this also gives them access to her initial commits.
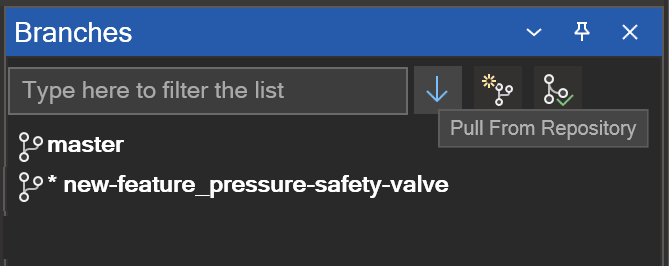
When Alice has completed her changes, she needs to let the rest of the team know she's done. First, she makes sure that her changes has been commited. Then, she emails the team asking them to pull changes from the remote repository. Bob gets the email with the pull request and selects the Pull From Repository button. This command updates Bob´s Branches pane and he can now see Alice's branch with her changes to the documentation.
The technical documentation is comprehensive, so to make sure he knows what has been changed Bob right-clicks the feature branch and selects Compare with 'master.
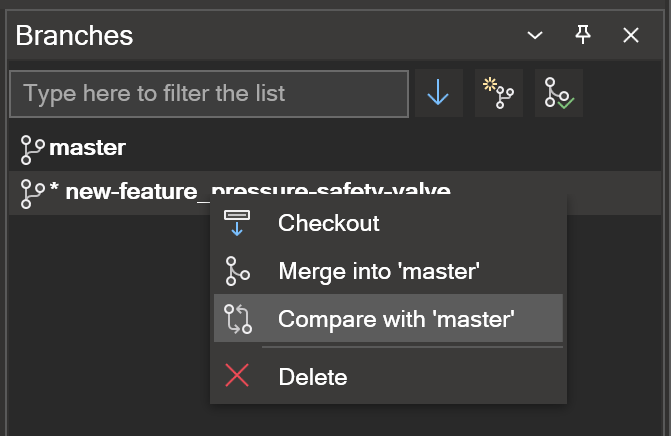
A new pane is opened, and Bob can now easily see all the changes that Alice has made. When selecting a changed file, Bob gets a side-by-side comparison of the file in the two branches. As some of the requirements are new, the master branch side is empty.

Resolve feedback
Bob decides he wants to make a few changes himself before integrating it into the official project, and he and Alice have some back-and-forth via email. Both Alice and Bob can use the exact same process as Alice, when she did the first iteration of her feature branch. Any commit Bob adds also show up in Alice's reposity when she selects the Pull From Repository button in the Branches pane.
Merge to master branch
Once Bob is ready to accept the pull request, someone needs to merge the feature into the stable project (this can be done by either Bob or Alice). First Bob needs to checkout the master branch:
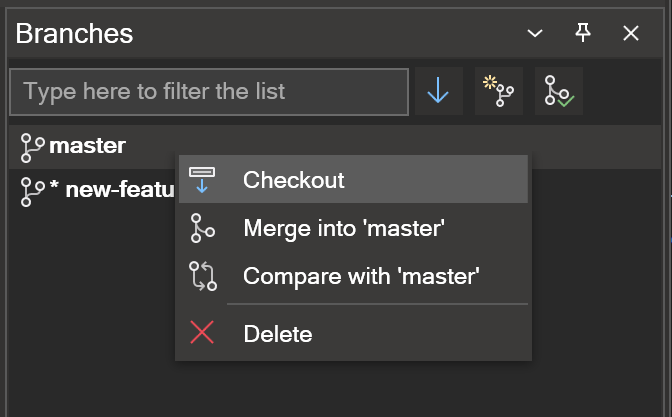
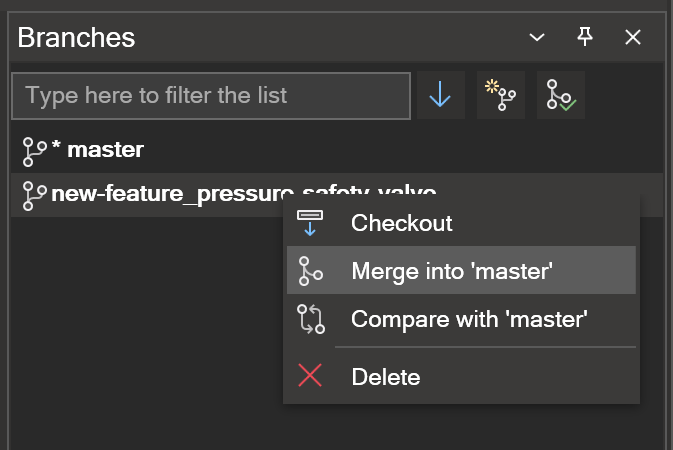
He then right-clicks the feature branch and selects Merge into 'master'. This merges the feature branch into 'master' in his local project and in the remote repository. When the command has completed he receives a confirmation dialog.
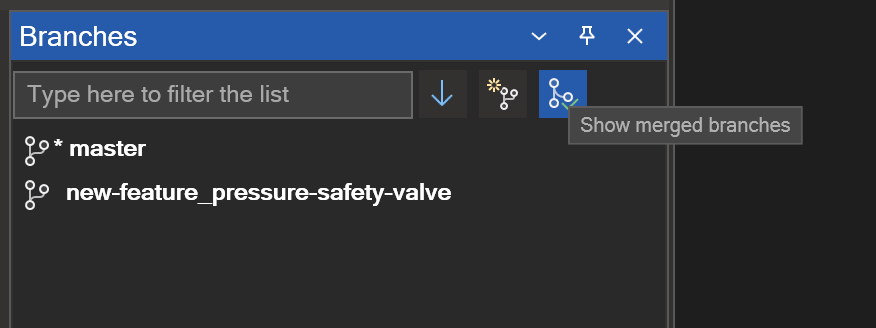
When selecting the Show Merged Branches button, Bob can see that the feature branch has been added to the list of merged branches.
To check the status of the 'master' branch, Bob selects Repository > View Branch History in the menu. A pane with the history of the master branch shows that all the changes up to the last commit in the feature branch has been merged into the master branch.
While Alice and Bob are working on Alice's-feature and discussing it in a email thread, Charlie is doing the exact same thing with his own feature branch. By isolating document changes into separate branches, everybody can work independently, yet it’s still trivial to share changes with other team members when necessary.