Create a template
Organized documentation such as Technical Files needs to be well-structured, clear, and consistent. Templates are used for making repeated text pieces such as risks and requirements consistently documented.
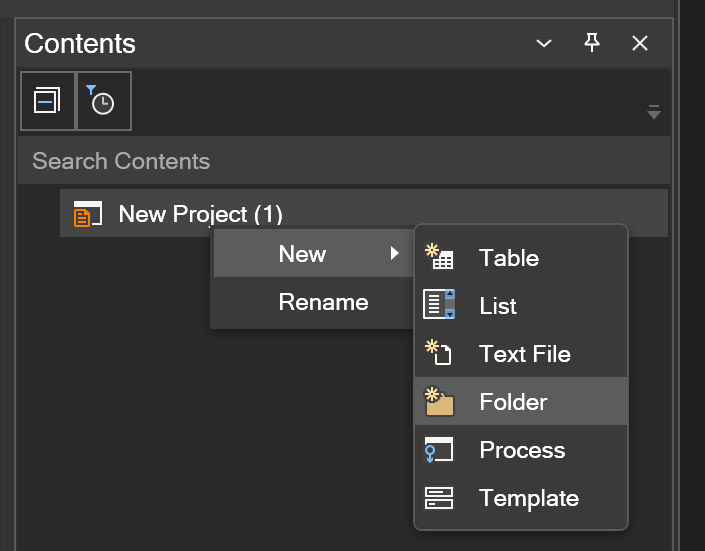
Create a folder for templates
Right-click the project file in the Contents pane and select New > Folder. Name the folder Templates.
Create a risk template
Let's create a risk template with the following attributes:
- A description of the risk (e.g. "The system could fail due to a power outage")
- The likelihood of the risk occurring (e.g. "low", "medium", or "high")
- The potential impact (severity) of the risk (e.g. "minor", "significant", or "critical")
- A Risk Priority Number (RPN)
- A description of the mitigation strategies that have been put in place to address the risk (e.g. "Backup generators will be used to ensure a continuous power supply")
- The current status of the risk (e.g. "open", "closed", or "mitigated")
By using a consistent set of attributes for documenting risks, you can help to ensure that all relevant information is captured and that it is easy to understand and analyze the risks.
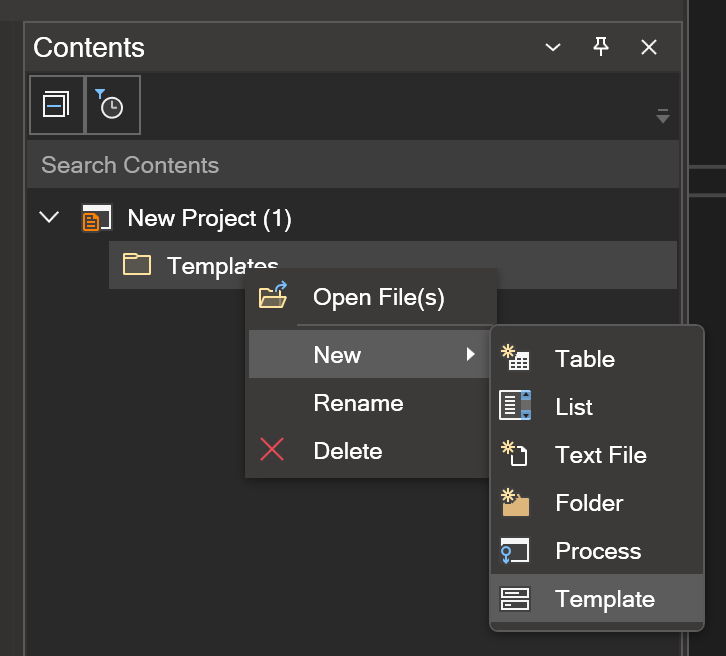
Right-click the Templates folder and select New > Template. Name the template Risk.
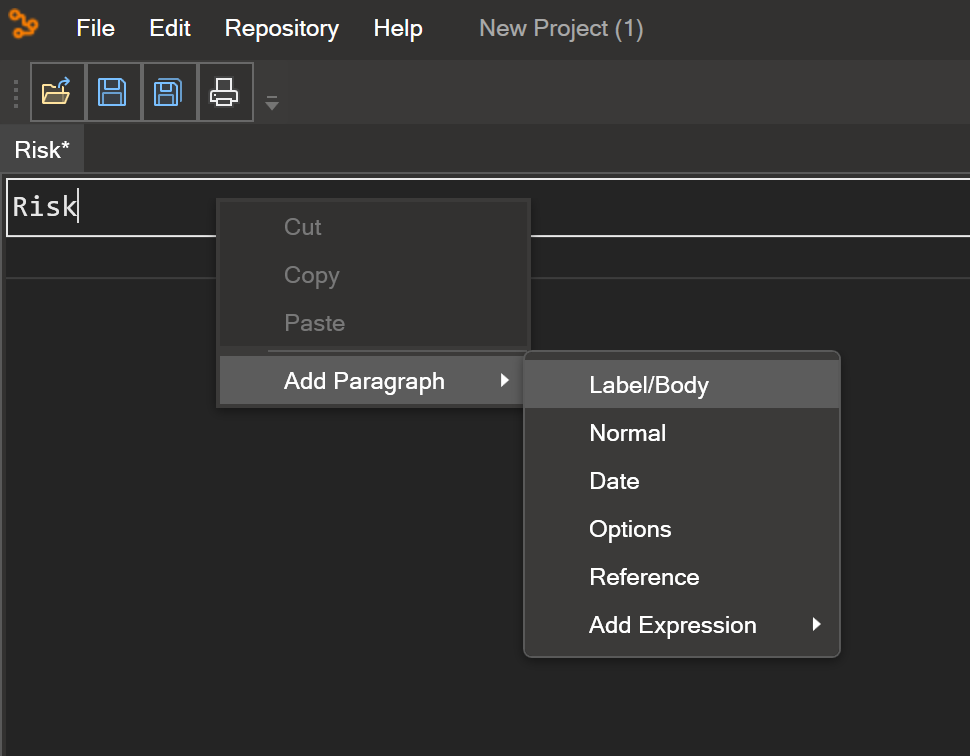
Double-click the Risk template in the Contents pane. This will open the Risk template file. Enter 'Risk' as header for the template. Right-click the header and add a 'Label/Body' paragraph.
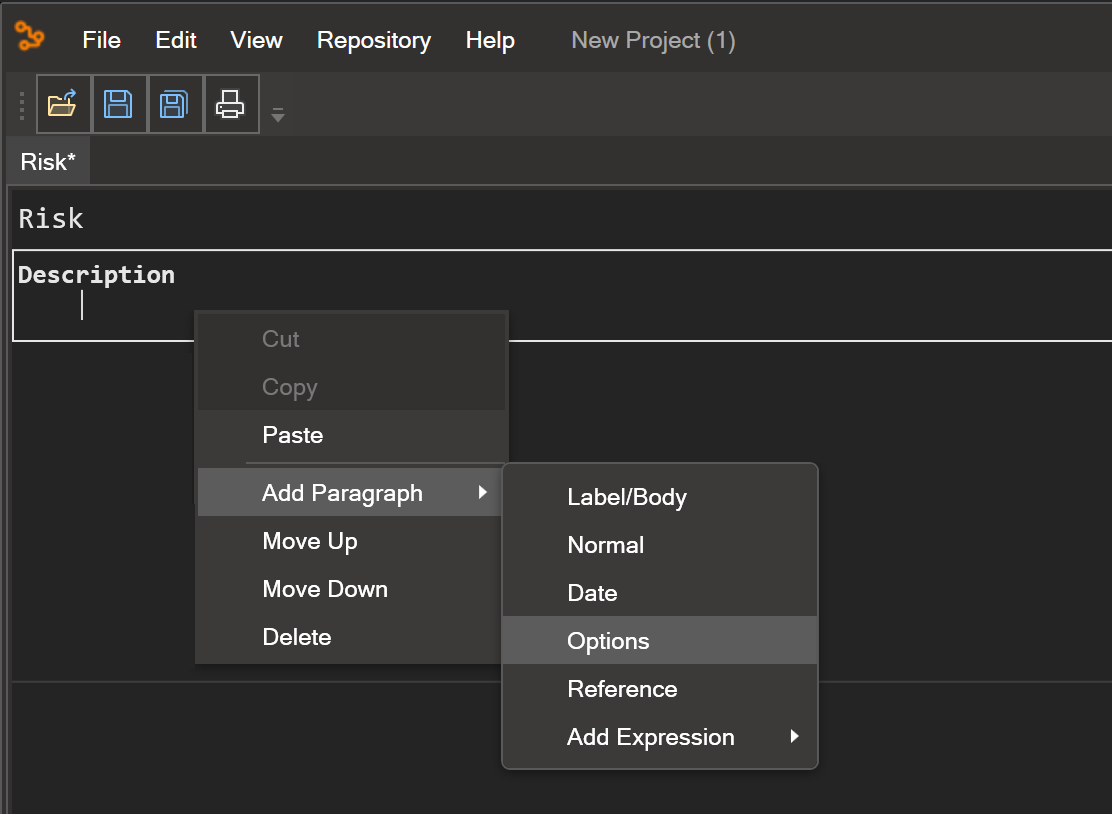
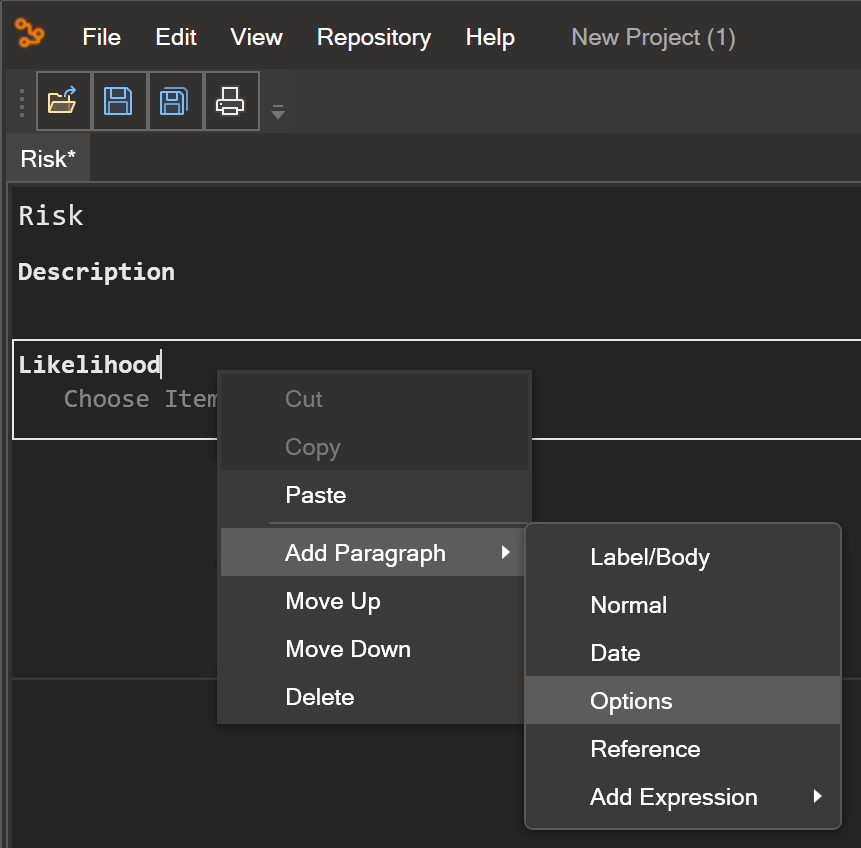
Enter 'Description' as header for the paragraph. Right-click the paragraph and add an Options paragraph for the likelihood attribute of the risk.
Enter 'Likelihood' as header for the paragraph.
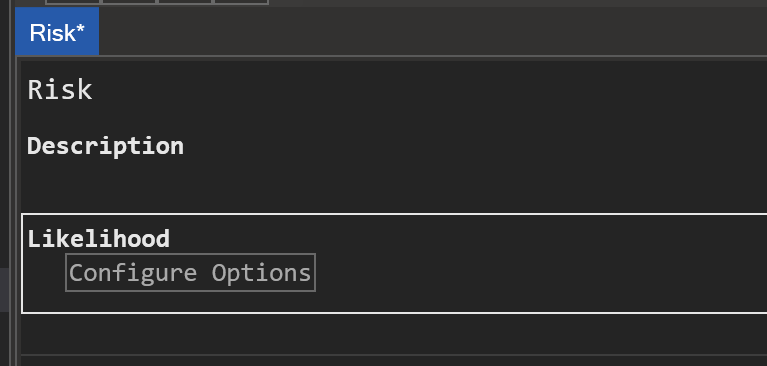
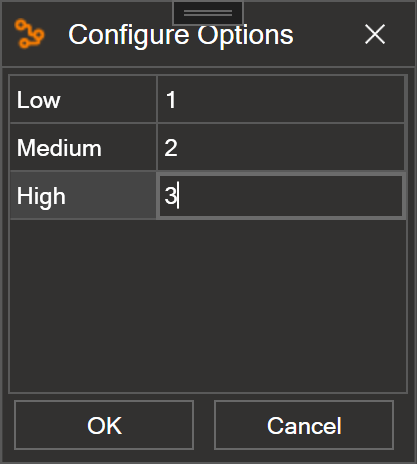
Select the Configure Options button and enter 'Low', 'Medium', and 'High' as levels of likelihood. Assign a value to each level ('1', '2', and '3'). Select OK.
Right-click the likelihood paragraph and add another Options paragraph for the severity attribute.
Enter 'Severity' as header for the paragraph.
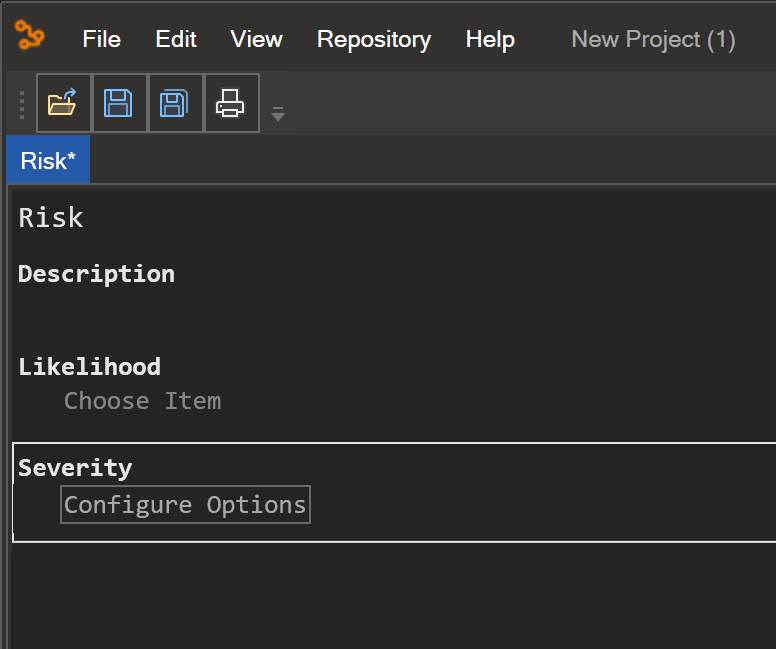
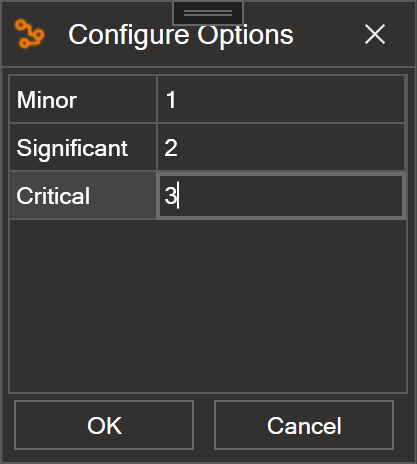
Select the Configure Options button and enter 'Minor', 'Significant', and 'Critical' as levels of severity. Assign a value to each level ('1', '2', and '3'). Select OK.
The 'Risk Priority Number' (RPN) is calculated as likelihood * severity. Right-click the severity paragraph and add a Calculation paragraph for the RPN attribute.
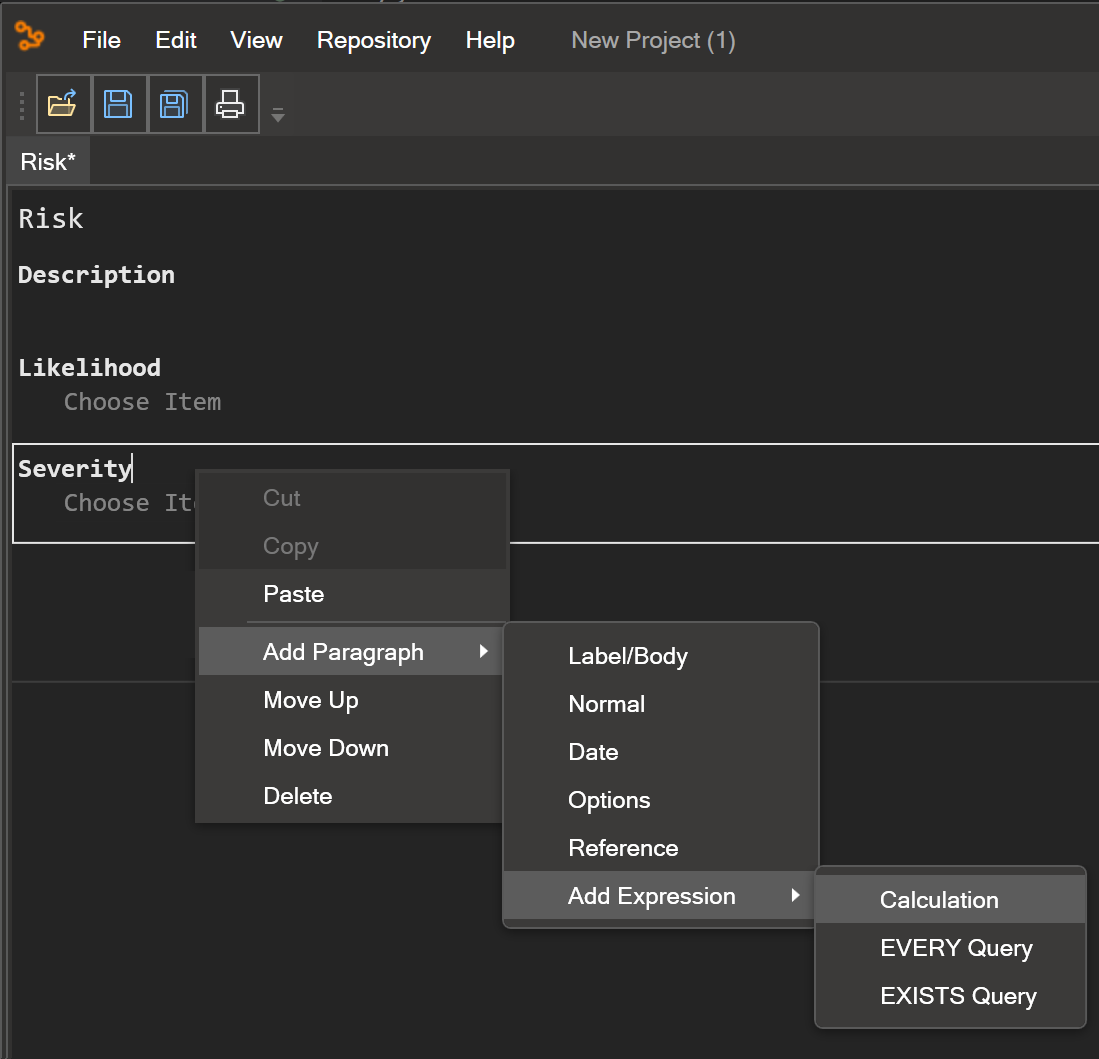
Enter 'RPN' as header for the paragraph. Values from other paragraphs can be referenced by entering the label names between curly braces { and }. Select the label Enter Expression Here and add the expression {Likelihood}*{Severity}. When both the likelihood and severity are selected for a risk, the RPN value will be calculated automatically.

A mitigation of the risk might be described in words, but in a formal risk management process it would more often be in the form of a requirement, which can be tested for formal verification of the mitigation. In Text Models this would be documented by referencing a Requirement elsewhere in the project. Right-click the Calculation paragraph and add a Reference paragraph for the mitigation attribute.
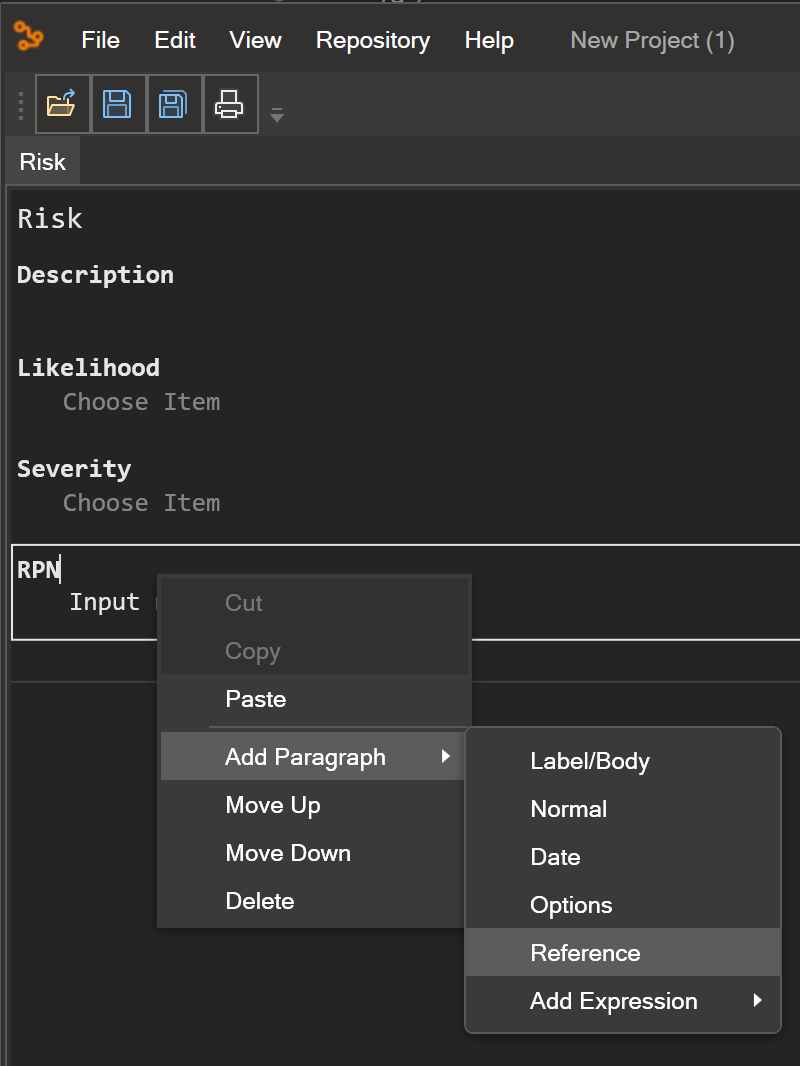
Enter 'Mitigation' as header for the paragraph. We'll show later how a requirement can be referenced in this paragraph.
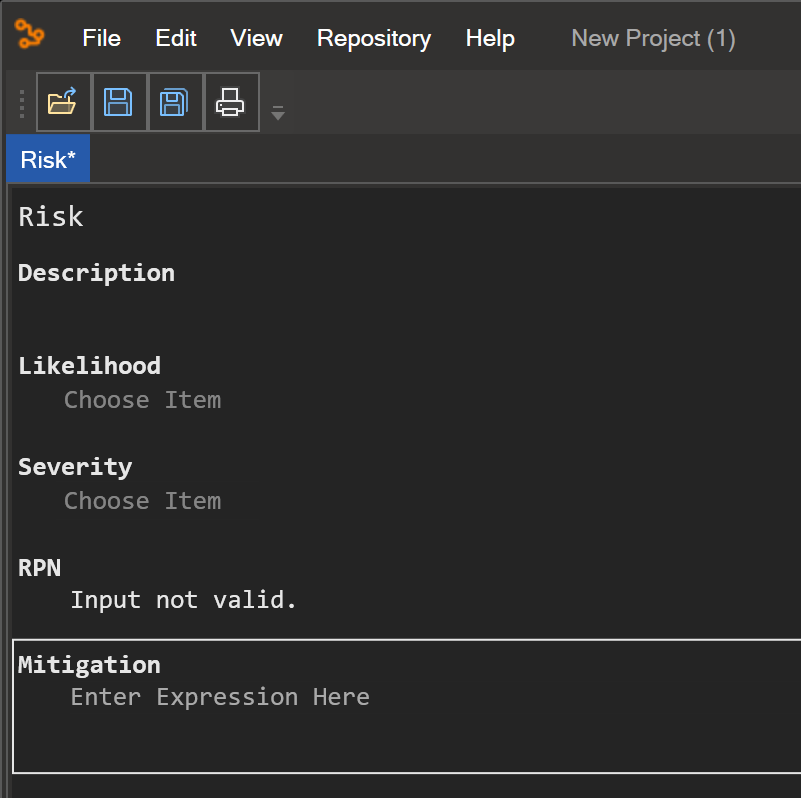
Lastly, let's add an Options paragraph for keeping track of the status of the risk. Right-click the mitigation paragraph and add another Options paragraph.
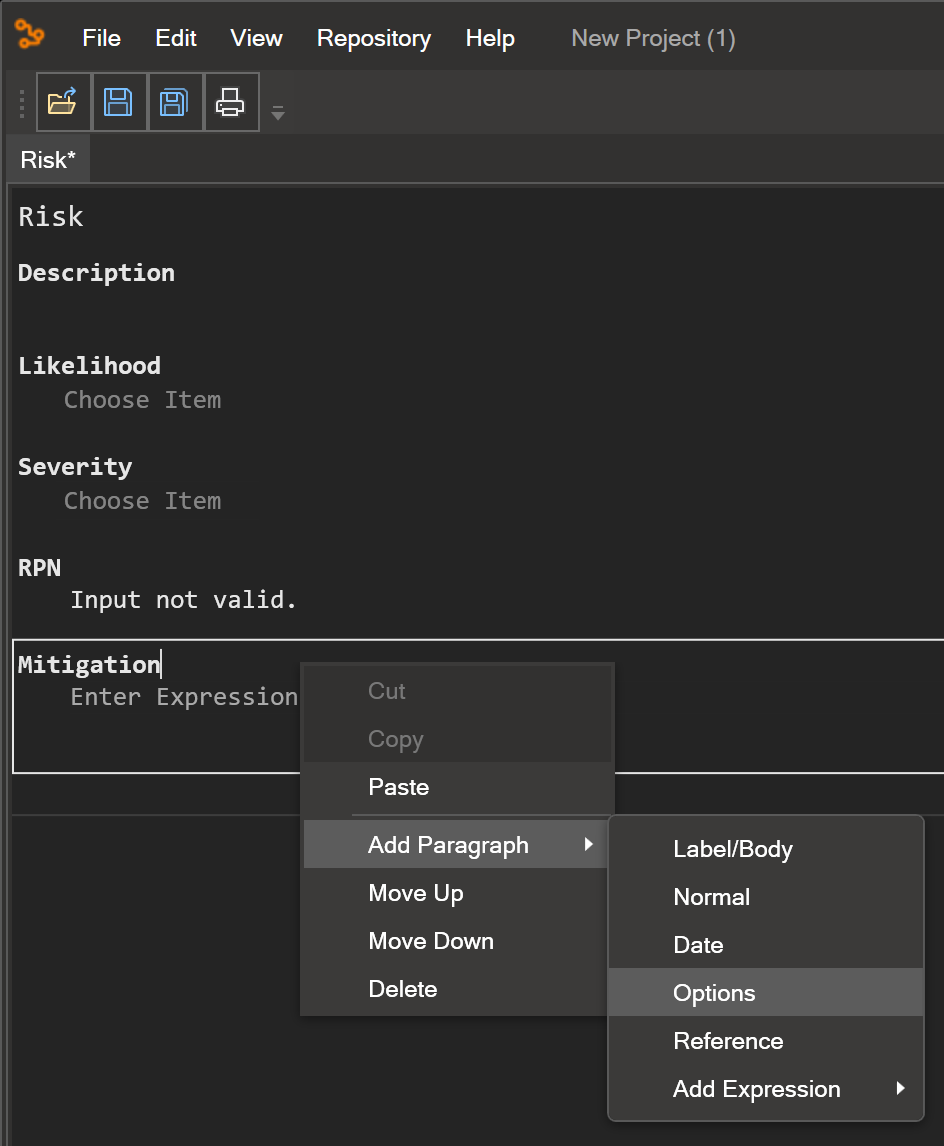
Enter 'Status' as header for the paragraph.
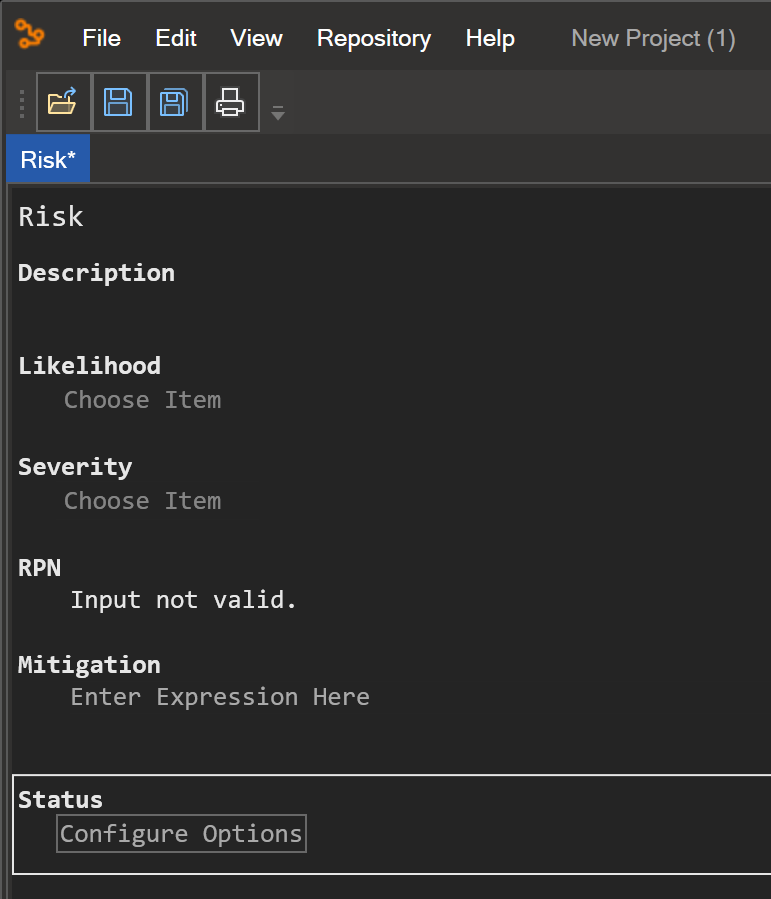
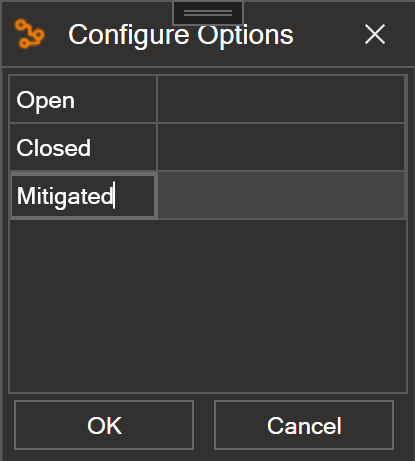
Select the Configure Options button and enter 'Open', 'Closed', or 'Mitigated' as status for the risk. Select OK.
Save the template by selecting the Save button on the tool bar.